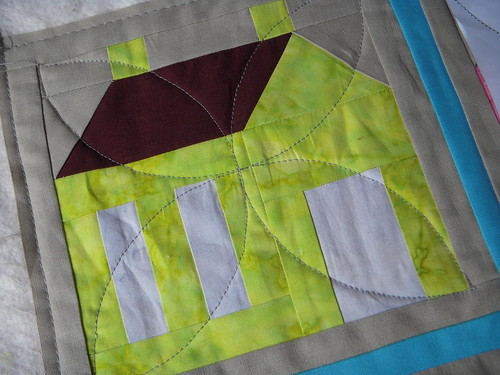
I finished my Modify Tradition swap quilt top! It's very cute, and I knew right away that it deserved a cute quilting motif. But what motif? Diagonal lines didn't seem quite right and neither did stitching in the ditch (Which ditch? There's a million!).
Luckily I've got Electric Quilt 7. Did you know that you can print quilting stencils with this program? It's so easy! All you have to do is search through the stencils (they're in the blocks library) and add your choice to your project sketchbook. Then, drop it into the appropriate layer of your quilt. The program will size the stencil as necessary!
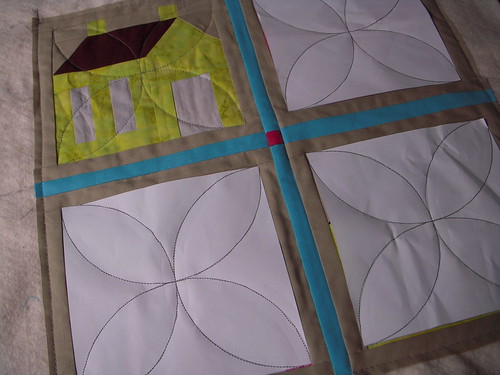
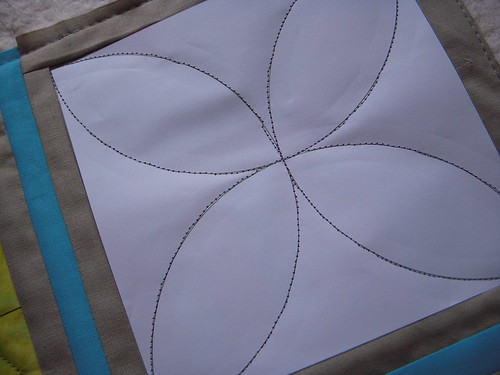
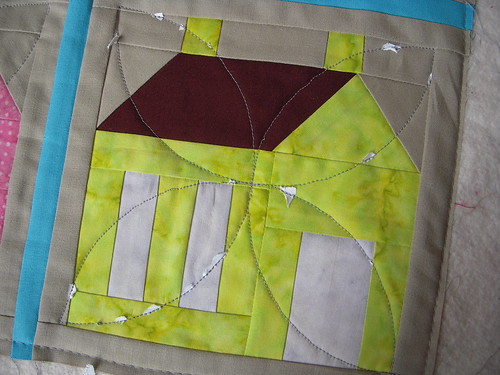
I decided on an orange peel pattern and printed four copies of the stencil. Just cut them out and use spray adhesive to attach them to the quilt. Then, stitch along the quilting lines. Go as fast or as slow as you are comfortable.
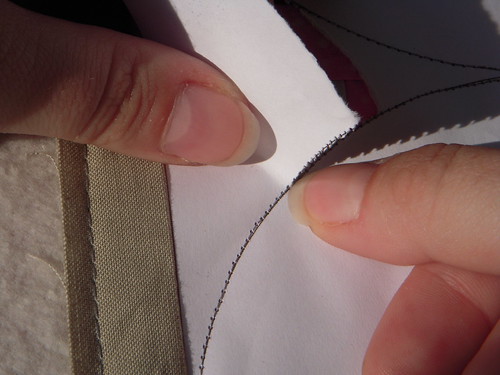
Once you've finished quilting, carefully rip off the paper. Use your fingernail to hold down the stitches and gently rip away the edge of the paper. If you pull some stitches up, just tug on either side of the stitch and it should go right back.
After you peel all the paper away, you may have some tiny specks caught in the seam. Use tweezers to pull them out. Voila, you are done, and you have perfect quilting!
No comments:
New comments are not allowed.