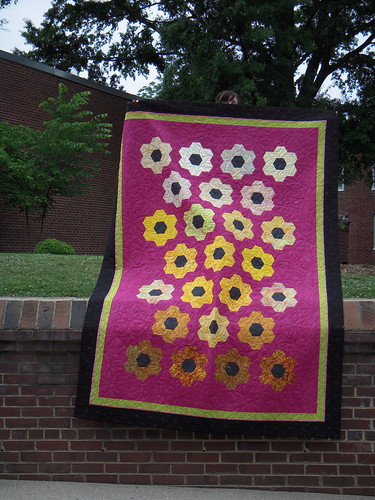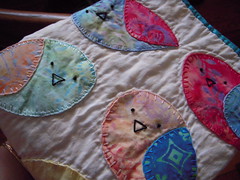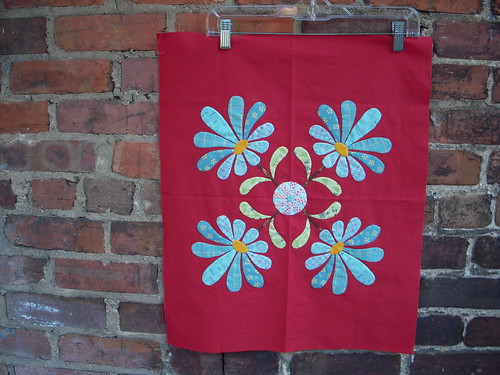
I adore this block, probably because of the cute little medallion in the middle. I've been told that most of the folks who participated in this block of the month (organized by Quilting Adventures) didn't sew the medallions. Some folks made yo-yos and others used fabric to mimic the look of the striped medallion. I must say, actually sewing the real thing makes the block look a thousand times better!
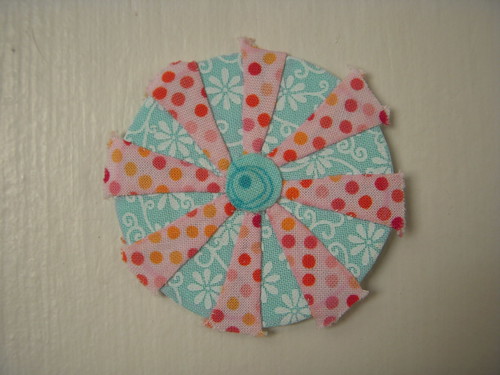
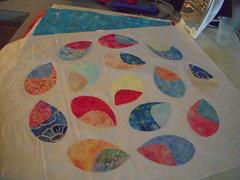
At first, appliqueing that thing seemed impossible, but after I actually sat down and put my mind to it, the process is fairly simple. The pattern calls for a circle of fabric with colorful wedges appliqued on, topped off with a smaller circle in the very middle.

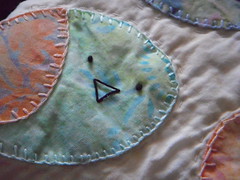
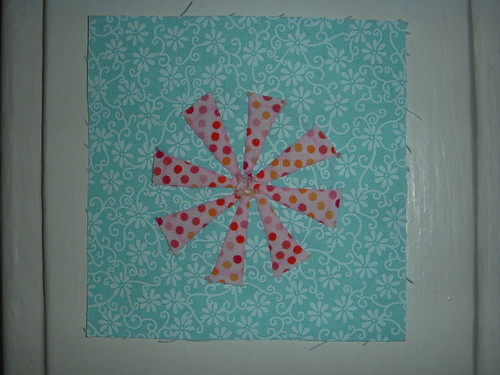
First, I traced the circle and the lines on the background fabric. I didn't cut it out; instead, I left it on a large square of fabric to make handling easier. Look closely and you can see the traced outline.
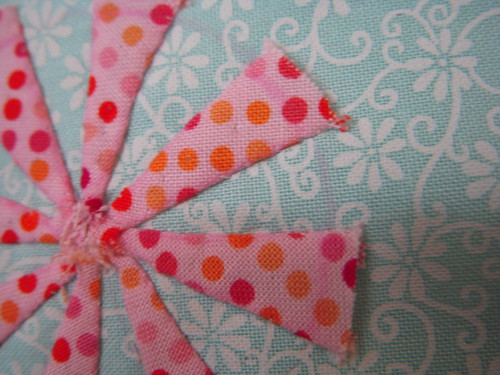
Next, I appliqued all the wedges to the background. It was a fairly straightforward process; I left a bit of overhang in the center and off the edge. Once the wedges were on, I appliqued the teeny tiny circle in the middle (not pictured here).
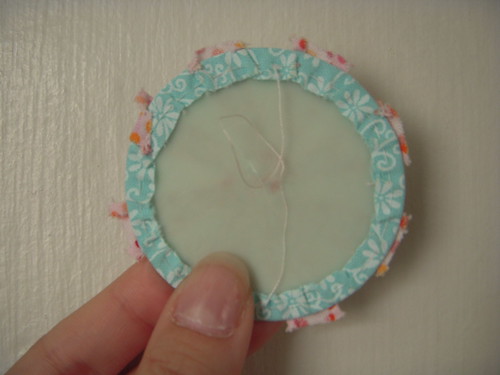
After applique, I trimmed the background fabric into a rough circle. Using a running stitch, I sewed around the outline and cinched it around a plastic template. Press, remove template, then press again. Voila! Circle!