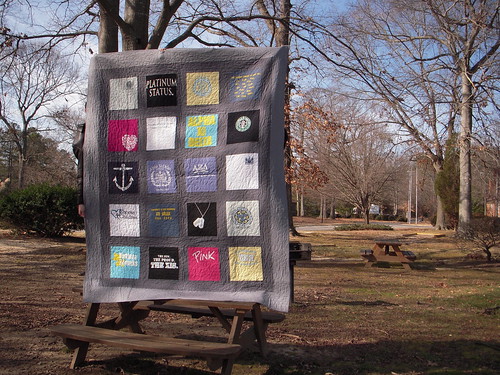
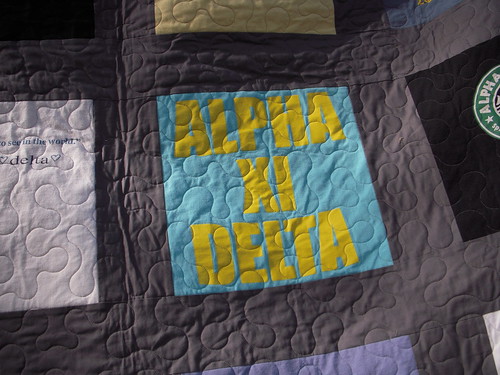
Pictured here is a commissioned quilt comprised of many Alpha Xi Delta tshirts, all from the University of New Hampshire chapter. Leah, the recipient, and asked only that the purple tshirt be featured in some special way. She also relayed that she is currently into gray. Beyond that, I was given free reign.
The finished quilt measures 79" x 95" (somewhere between full and queen) and is quilted with a large meander pattern in a gray thread called oyster shell. As usual, the quilting is done by Rebekah of Kept in Stitches Quilting. As usual, I can not speak highly enough of her customer service and skill.
I elected to use two grays, darker for the sashing and lighter for the border. They are both Kona cottons, but I did not note the specific colors. The darker gray is the same gray I always buy-- it is so luscious-- and the lighter gray seemed a good complement. Because of the extremely bright sunlight and shadows, the colors look more purple than in actuality. Trust me, though-- they are just gray.
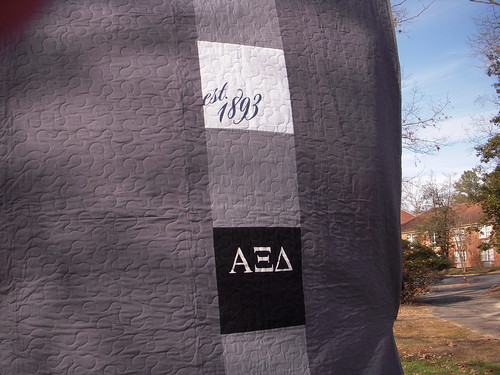
On the back I have placed two of the tshirts, as I usually do. I like these on the back because they sort of brand the quilt. Sadly, I forgot to put on one of my labels! Leah promised that she would tell all her friends and admirers that this creation came from me, so I'm satisfied with that.
From start to finish this quilt took me 21 hours to complete. Seven of those hours were spent on attaching and hand finishing the binding. I'm told that's too long, but I'm not sure I agree; 348 inches is quite a lot of binding to hand stitch!
I think Leah will be delighted. The solid gray fabrics pull the tshirts nicely together, the quilting is immaculate, and the finished product looks fabulous. Though Leah was expecting a much smaller quilt, I elected to make a large quilt for several reasons, chief among them that I think small quilts are somewhat pointless.
(Please note that I used a heavier interfacing for this quilt. I have previously used Pellon sheerweight fusible interfacing; this time I used Pellon lightweight fusible interfacing. I noticed a slight difference in the effectiveness, but not much. The glue still didn't stick as well as I'd like. However, the lightweight interfacing makes this nice and heavy-- good for New Hampshire winters.)
Showing posts with label tshirt quilts. Show all posts
Showing posts with label tshirt quilts. Show all posts
Monday, January 16, 2012
Thursday, October 27, 2011
God, Country, Notre Dame
Long time, no see. Mostly, I'm busy. Also, I couldn't post about this until very recently!
Christopher and Lauren finally tied the knot, and I was able to give them their t-shirt quilt! It was a big hit (Thank God!) and it was even halfway a surprise! As usual, my favorite longarm quilter at Kept in Stitches Quilting did a fabulous job.
Sadly, I didn't get a picture of the back. Solid blue, with a strip of gold across the middle. In the gold section I had several ND logos taken from the sleeves of the t-shirts. Very cool looking, I promise.
My apologies to the bride for the above photo. Laser eyes look pretty good on her, though.
Sunday, May 15, 2011
Hokie Pokey
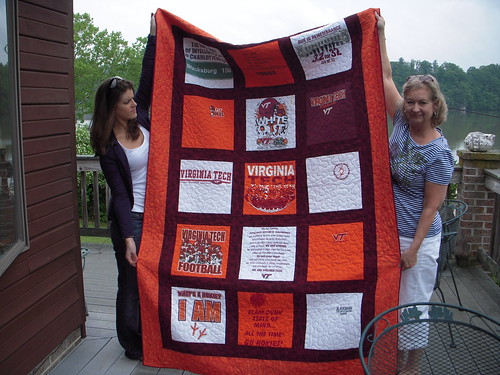
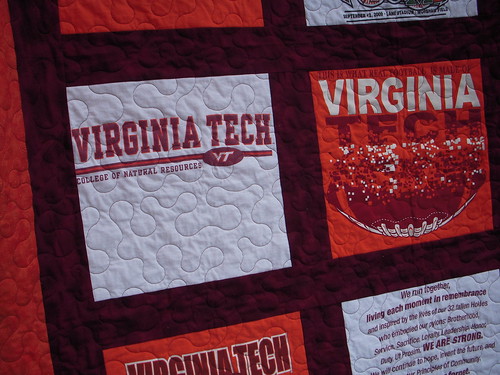
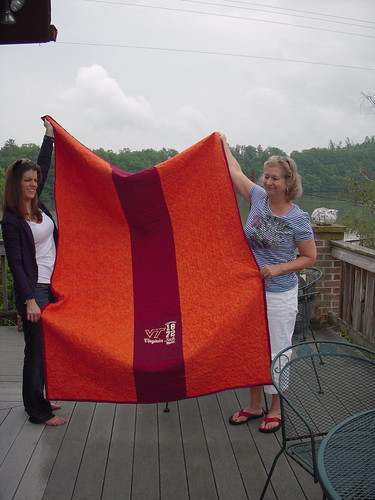
For my entry in the Spring 2011 Bloggers' Quilt Festival I am revealing my latest creation, Hokie Pokey. It is my second ever t-shirt quilt, made for Josh's brother, Tyler, as a graduation gift. Obviously, he graduated from Virginia Tech's College of Natural Resources & Environment with a major in Fisheries Science. Pretty cool, right?
To create this quilt I used t-shirts and fabric provided by my mother-in-law to be. There were about 10 tees total, and I was able to use the front and back of only a few of the shirts.
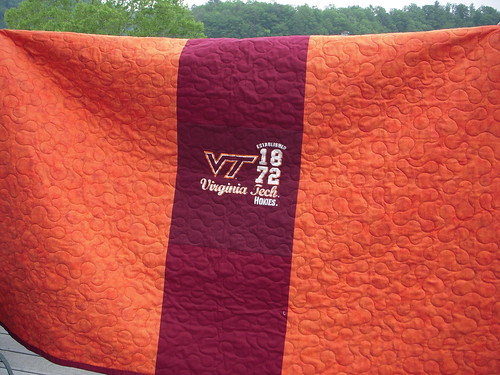
This quilt measures 54"x88"-- I'm calling that "skinny twin." I would have loved to make this quilt larger, but the number of t-shirts dictated the size and shape of the quilt. I chose a 3x5 layout so that Tyler could easily use this quilt to lounge on the couch in his post graduation days. All but one of the shirts were used in the top; the last t-shirt was saved and used for the pieced backing.
Altogether this project took about 15 hours to complete, counting time spent finishing the binding. It took two hours to prepare and cut the t-shirt blocks, six hours to piece the top (including cutting of sashing), and two hours to prepare the backing. Attaching and finishing binding took five hours across various sessions. Yes, I kept track.
With this being my second finished t-shirt quilt, I have some tips to share. Forge on, fearless readers, for my enlightened wisdom.
1. Fusible stabilizer smells terrible when ironed, but it is completely necessary. I suggest that people cut the shirts, stabilize them, and then trim them down to the desired size. My iron did not slide easily across the stabilizer; when I tried to iron everything stretched and stuck to the plate of my iron. Therefore, it is essential to press, not iron.
2. The t-shirt blocks will stretch anyway. Handle with care.
3. Piece using a walking foot. This is necessary considering Tip #2 from above. The walking foot, combined with the stabilizer, really minimized any stretching that I experienced.
4. Steam causes the stabilizer to unfuse. Don't steam, even though that makes it impossible to press the seams into submission.
5. Pinning is essential. I am not a pinner by any means, but I did so for this project and it made a huge difference. Though it took more time, this quilt came together much more easily and nicely.
6. Your seams will pretty much go whichever way they feel like. Do not try to control them. I always pressed seams away from the jersey fabric and toward the cotton sashing; this helped to better tame the seams.
7. Try not to let your hot iron touch the screen print on the front of the t-shirts-- the ink will smear across the fabric. Never fear! If this happens, rub the smudge with the tip of your iron. You will be burning/wiping the smear away. I don't know what to do about the smear on your iron plate; don't ask me.
8. You can't quilt this thing yourself. Don't even try. My longarm quilter is the best!
Subscribe to:
Posts (Atom)
