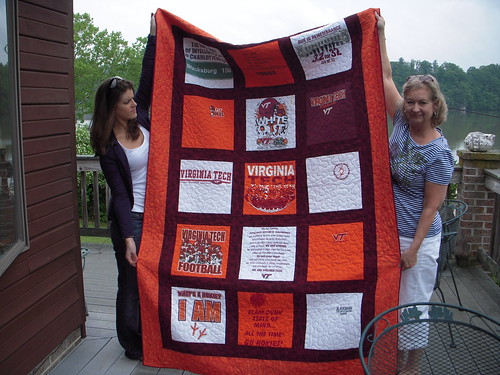
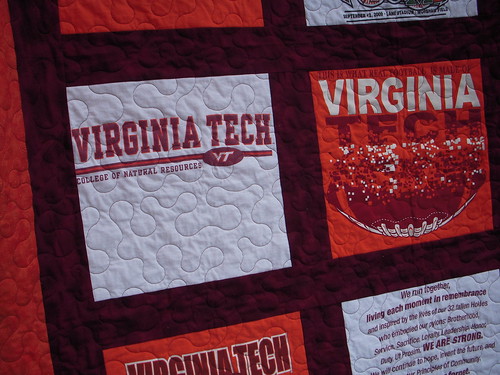
For my entry in the Spring 2011 Bloggers' Quilt Festival I am revealing my latest creation, Hokie Pokey. It is my second ever t-shirt quilt, made for Josh's brother, Tyler, as a graduation gift. Obviously, he graduated from Virginia Tech's College of Natural Resources & Environment with a major in Fisheries Science. Pretty cool, right?
To create this quilt I used t-shirts and fabric provided by my mother-in-law to be. There were about 10 tees total, and I was able to use the front and back of only a few of the shirts.
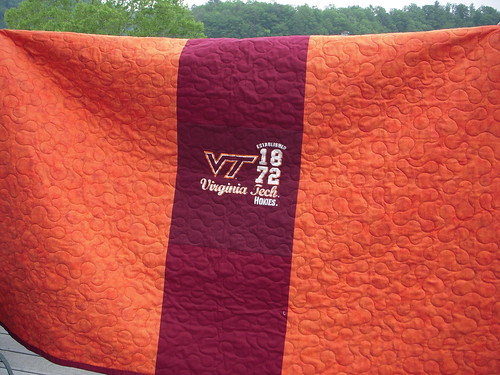
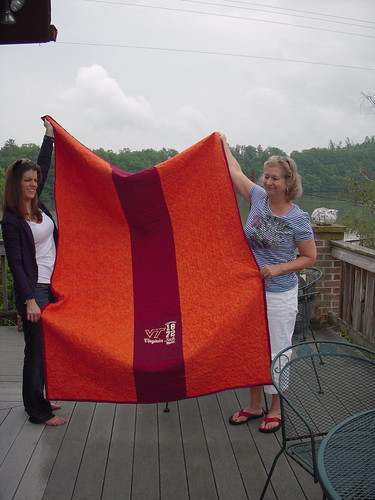
This quilt measures 54"x88"-- I'm calling that "skinny twin." I would have loved to make this quilt larger, but the number of t-shirts dictated the size and shape of the quilt. I chose a 3x5 layout so that Tyler could easily use this quilt to lounge on the couch in his post graduation days. All but one of the shirts were used in the top; the last t-shirt was saved and used for the pieced backing.
Altogether this project took about 15 hours to complete, counting time spent finishing the binding. It took two hours to prepare and cut the t-shirt blocks, six hours to piece the top (including cutting of sashing), and two hours to prepare the backing. Attaching and finishing binding took five hours across various sessions. Yes, I kept track.
With this being my second finished t-shirt quilt, I have some tips to share. Forge on, fearless readers, for my enlightened wisdom.
1. Fusible stabilizer smells terrible when ironed, but it is completely necessary. I suggest that people cut the shirts, stabilize them, and then trim them down to the desired size. My iron did not slide easily across the stabilizer; when I tried to iron everything stretched and stuck to the plate of my iron. Therefore, it is essential to press, not iron.
2. The t-shirt blocks will stretch anyway. Handle with care.
3. Piece using a walking foot. This is necessary considering Tip #2 from above. The walking foot, combined with the stabilizer, really minimized any stretching that I experienced.
4. Steam causes the stabilizer to unfuse. Don't steam, even though that makes it impossible to press the seams into submission.
5. Pinning is essential. I am not a pinner by any means, but I did so for this project and it made a huge difference. Though it took more time, this quilt came together much more easily and nicely.
6. Your seams will pretty much go whichever way they feel like. Do not try to control them. I always pressed seams away from the jersey fabric and toward the cotton sashing; this helped to better tame the seams.
7. Try not to let your hot iron touch the screen print on the front of the t-shirts-- the ink will smear across the fabric. Never fear! If this happens, rub the smudge with the tip of your iron. You will be burning/wiping the smear away. I don't know what to do about the smear on your iron plate; don't ask me.
8. You can't quilt this thing yourself. Don't even try. My longarm quilter is the best!


Okay. This is amazing. I have a basket full of VT tshirts that I want to turn into a quilt, but never having quilted before I am hesitant to take on such a task. But this one you did is beautiful, and has me planning out the squares again!
ReplyDelete