Showing posts with label my special techniques. Show all posts

Saturday, July 16, 2011

Aunt Millie's Update 4

DSCN0990

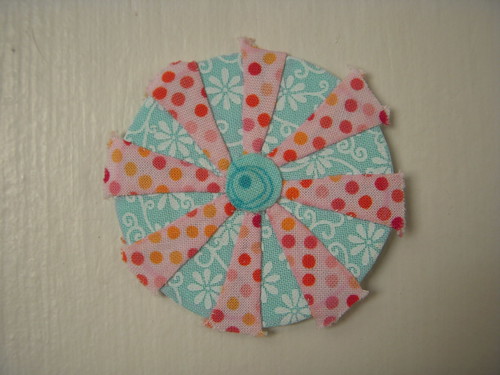
I adore this block, probably because of the cute little medallion in the middle.  I've been told that most of the folks who participated in this block of the month (organized by Quilting Adventures) didn't sew the medallions.  Some folks made yo-yos and others used fabric to mimic the look of the striped medallion.  I must say, actually sewing the real thing makes the block look a thousand times better!

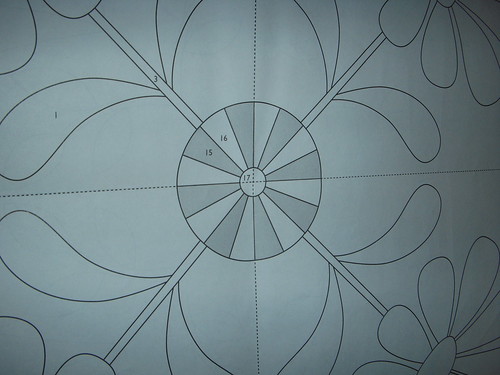
At first, appliqueing that thing seemed impossible, but after I actually sat down and put my mind to it, the process is fairly simple.  The pattern calls for a circle of fabric with colorful wedges appliqued on, topped off with a smaller circle in the very middle.

DSCN0980

First, I traced the circle and the lines on the background fabric.  I didn't cut it out; instead, I left it on a large square of fabric to make handling easier.  Look closely and you can see the traced outline.

DSCN0985

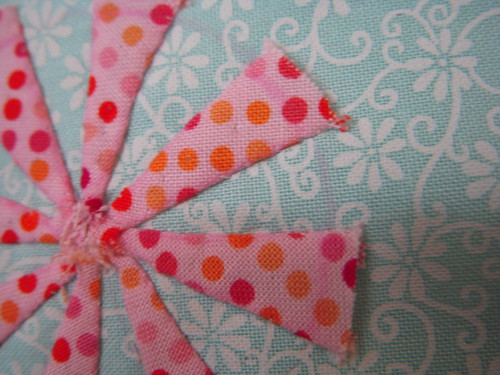
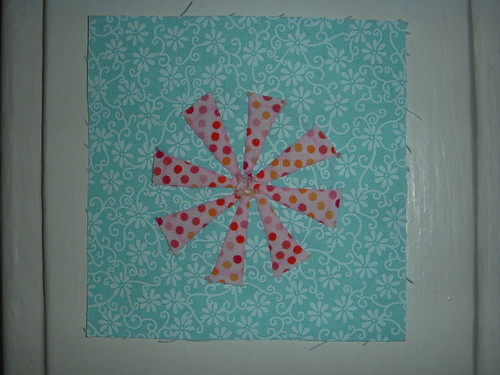
Next, I appliqued all the wedges to the background.  It was a fairly straightforward process; I left a bit of overhang in the center and off the edge.  Once the wedges were on, I appliqued the teeny tiny circle in the middle (not pictured here).

DSCN0982

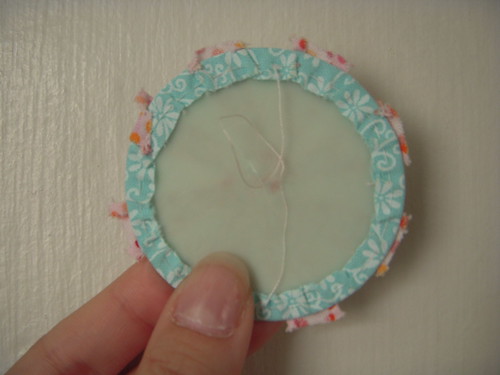
After applique, I trimmed the background fabric into a rough circle.  Using a running stitch, I sewed around the outline and cinched it around a plastic template.  Press, remove template, then press again.  Voila!  Circle!

DSCN0988

DSCN0986

Tuesday, July 12, 2011

Hand Dye Redux

Remember last time?  I know I said I wanted to make sure I fully understand the process behind mixing dye baths and making colors before trying resist techniques, but I just couldn't resist getting in on Kristal's batik adventure.  (See what I did there?)

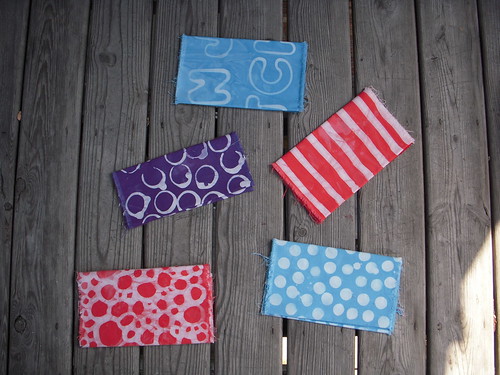
Over the weekend, Kristal convinced me to let little loose and just experiment.  I used my 50% off coupon to purchase 5 yards of prepared for dye Kona cotton-- it cost me less than $20, people!-- and helped make a huge mess on Kristal's patio.

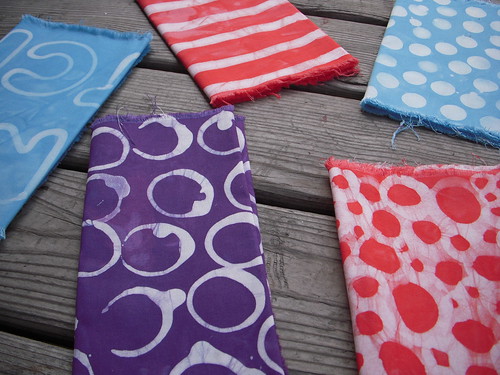
We used several tools to apply the wax, including cookie cutters, cardboard tubes, carrots, and paintbrushes of different types and sizes.  First we waxed the fabric, then we dyed it.  After completing the dye process, we followed Malka's directions for removing the wax (found in her fabulous book).  I dyed five quarter-yard cuts of fabric.

DSCN1003

DSCN1005

DSCN1004

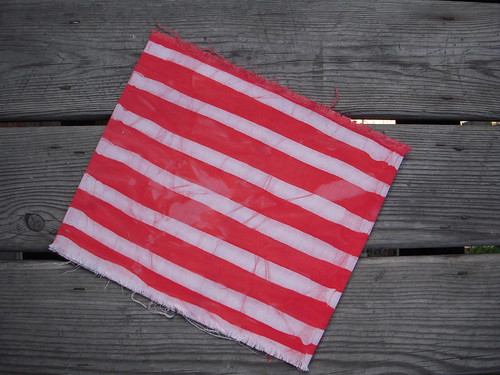
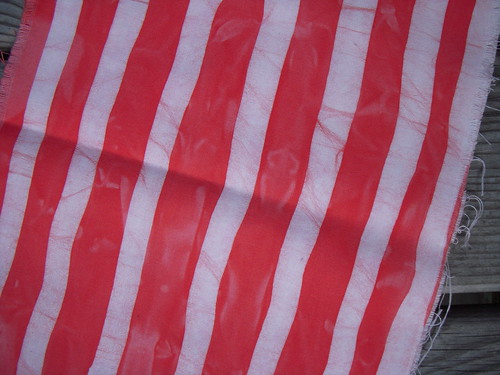
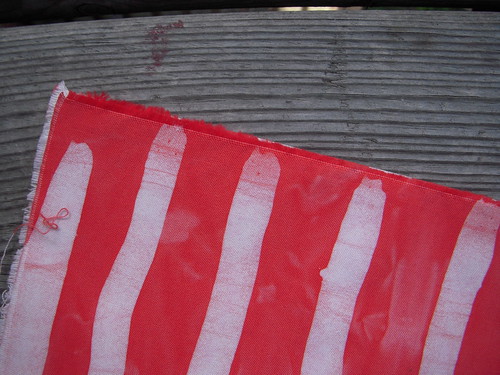
First, I created the stripes you see above.  I used a large, bristled paintbrush to apply these streaks of wax.  Everywhere that is white-- not really white, per se, but you get the idea-- is where I applied the wax.  The bristled paintbrush holds wax well, and allowed me to apply a long streak of wax.  You can see slightly where the wax overlapped.  The selvedge shows where I began my streak.  

The pattern and color on this piece of fabric closely resemble a big-top circus tent, therefore I have named this "print" Circus Stripes.  Look closely at the photos to see the subtle variations that come with all hand-dyed fabrics.  The gradations and lines that the dye left behind create a unique texture; no two pieces ever look the same.

DSCN1011

DSCN1009

DSCN1017

DSCN1013

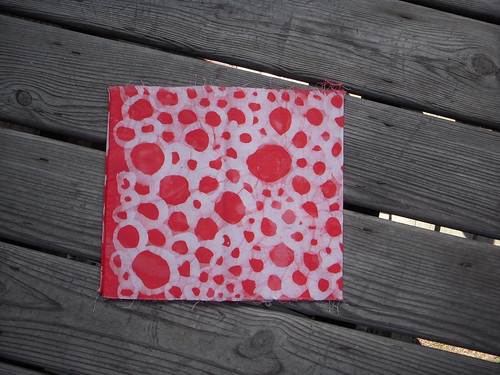
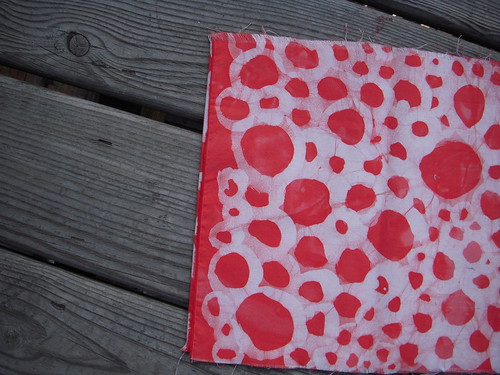
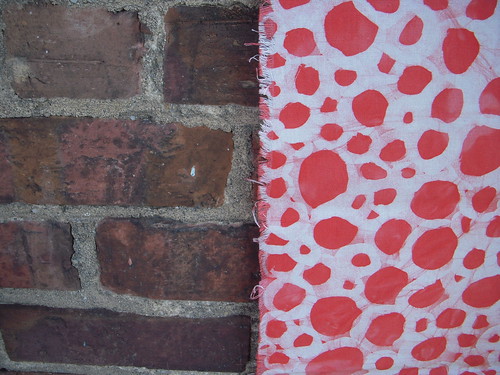
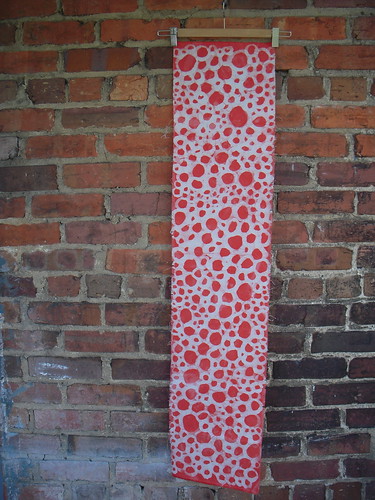
This pattern, Pebble Doodle, was created using a foam paintbrush.  I painted the circles onto the fabric, one after another.  It was quite time consuming, but the end result is pleasing.  This piece of fabric particularly shows variations, especially where wax was not adequately applied to the fabric.  Overall, this is my favorite piece; I am looking forward to recreating it in several different colors, though I know the final products will each be different.

I loved the look of Pebble Doodle against the bricks of my building; brick is a beautiful pattern all its own.  Perhaps I will attempt to recreate that look and texture in my next experiment.

DSCN1008

DSCN1007

DSCN1006

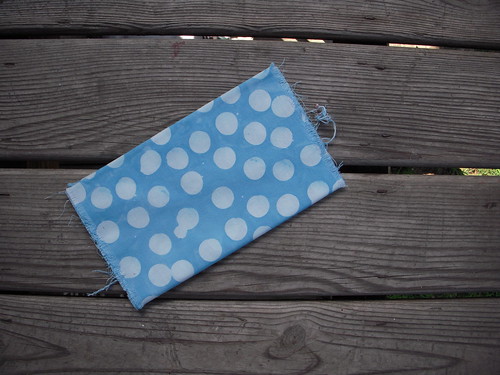
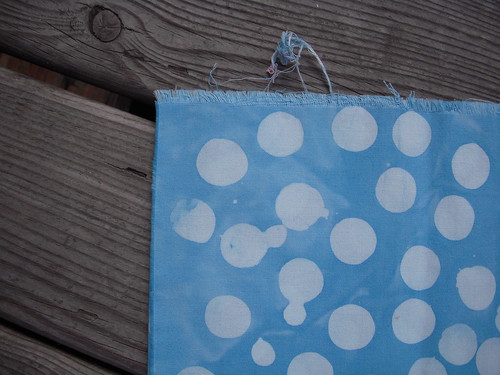
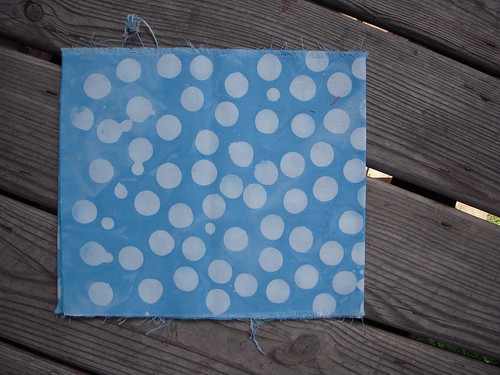
This fun dot was created using a carrot grown in Kristal's garden.  After waxing about 3/4 of this piece the carrot was cooked and it began leaving orange streaks on the fabric!  We used a powder called "azure" to create this color-- an appropriate name, considering the pieces dyed in that particular bath look like the exact color of a summer sky.  

There are many drip dots on this piece, and although it was frustrating at the time, the end result is pleasing.  I love the look of these irregular dots, and the small splashes of wax between add the character that you just don't get in printed fabric.  

DSCN1002

DSCN1001

DSCN1000

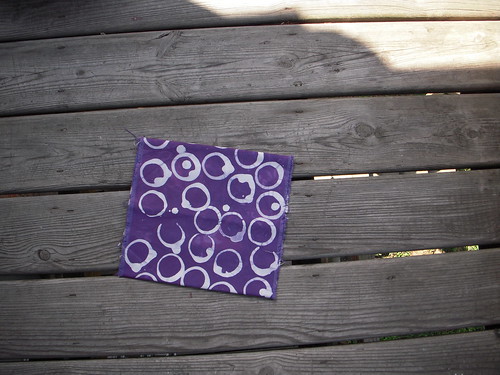
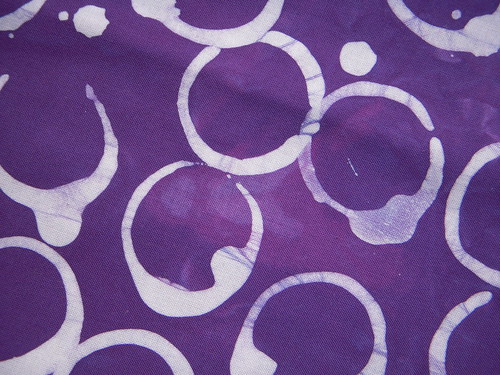
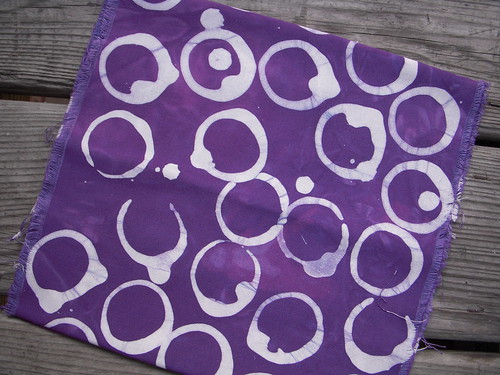
This piece gave me fits from beginning to end!  I used a toilet tissue cardboard roll to stamp this pattern in an attempt to create a fabric spotted with rings.  The wax foiled me, however, and dripped just about each and every time I attempted to stamp the fabric (perhaps this was due to my shaky hands).  

Although it was frustrating at first, I embraced the lack of control and ended up with a beautiful piece of fabric.  This color is produced using a powder called "reddish purple" and is probably my favorite color of all the dyes we used.  The pattern-- called Coffee Rings-- is one that I will definitely reproduce again.

DSCN1020

DSCN1018
  

Everything did not go exactly perfect, which I struggle with.  I still don't get it with the dye bath creation and color mixing, but I guess that's okay for now.  Experimenting with wax and creating my own beautiful patterns on fabric was immensely satisfying, and so I guess all the knowledge and perfection can wait.  I will get there eventually, and hopefully will have more successful experiments along the way.
Sunday, May 15, 2011

Hokie Pokey

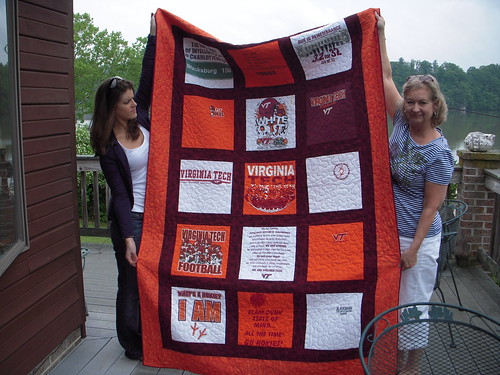
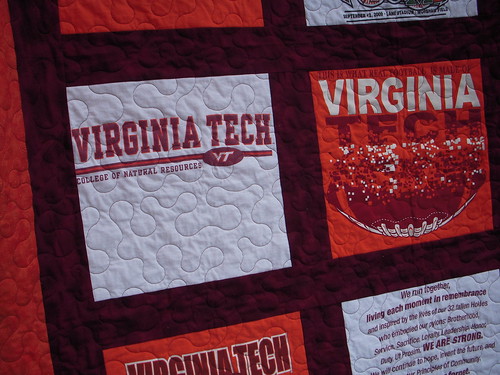
For my entry in the Spring 2011 Bloggers' Quilt Festival I am revealing my latest creation, Hokie Pokey.  It is my second ever t-shirt quilt, made for Josh's brother, Tyler, as a graduation gift.  Obviously, he graduated from Virginia Tech's College of Natural Resources & Environment with a major in Fisheries Science.  Pretty cool, right?

DSCN0973

To create this quilt I used t-shirts and fabric provided by my mother-in-law to be.  There were about 10 tees total, and I was able to use the front and back of only a few of the shirts.

DSCN0974

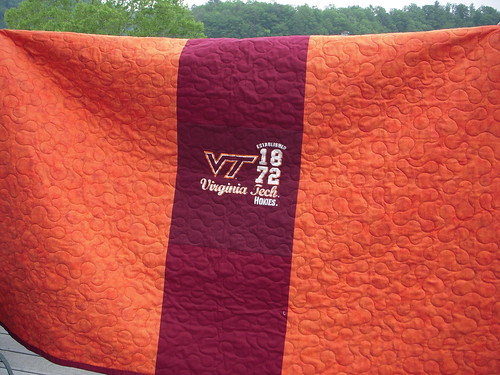
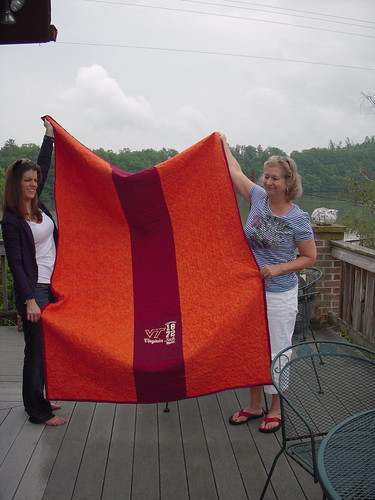
This quilt measures 54"x88"-- I'm calling that "skinny twin."  I would have loved to make this quilt larger, but the number of t-shirts dictated the size and shape of the quilt.  I chose a 3x5 layout so that Tyler could easily use this quilt to lounge on the couch in his post graduation days.  All but one of the shirts were used in the top; the last t-shirt was saved and used for the pieced backing.

DSCN0976

Altogether this project took about 15 hours to complete, counting time spent finishing the binding.  It took two hours to prepare and cut the t-shirt blocks, six hours to piece the top (including cutting of sashing), and two hours to prepare the backing.  Attaching and finishing binding took five hours across various sessions. Yes, I kept track.

DSCN0975

With this being my second finished t-shirt quilt, I have some tips to share.  Forge on, fearless readers, for my enlightened wisdom.

1. Fusible stabilizer smells terrible when ironed, but it is completely necessary.  I suggest that people cut the shirts, stabilize them, and then trim them down to the desired size.  My iron did not slide easily across the stabilizer; when I tried to iron everything stretched and stuck to the plate of my iron.  Therefore, it is essential to press, not iron.

2.  The t-shirt blocks will stretch anyway.  Handle with care.

3.  Piece using a walking foot.  This is necessary considering Tip #2 from above.  The walking foot, combined with the stabilizer, really minimized any stretching that I experienced.

4.  Steam causes the stabilizer to unfuse.  Don't steam, even though that makes it impossible to press the seams into submission.

5.  Pinning is essential.  I am not a pinner by any means, but I did so for this project and it made a huge difference.  Though it took more time, this quilt came together much more easily and nicely.

6.  Your seams will pretty much go whichever way they feel like.  Do not try to control them.  I always pressed seams away from the jersey fabric and toward the cotton sashing; this helped to better tame the seams.

7.  Try not to let your hot iron touch the screen print on the front of the t-shirts-- the ink will smear across the fabric.  Never fear!  If this happens, rub the smudge with the tip of your iron.  You will be burning/wiping the smear away.  I don't know what to do about the smear on your iron plate; don't ask me.

8.  You can't quilt this thing yourself.  Don't even try.  My longarm quilter is the best!

Sunday, October 3, 2010

Opulence, I has it

You know this commercial?  It goes right along with my current quilting project-- both the concept and the person!

The colors for this project were supposed to be "rich"  and "royal"-- the types of colors preferred by the recipient.  I chose the Carolina Chambrays by Robert Kaufman because they have such a rich quality to them. The iridescent shimmer created by the cross-woven fibers, the silky-smooth texture, and the jewel-toned colors all scream expensive without actually being that expensive.  ("Opulence, I has it.  But I also like savings the money...")

DSCN0724

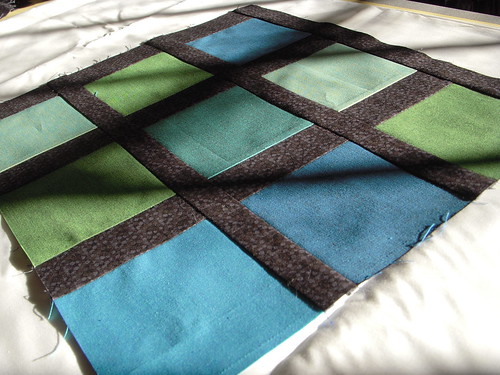
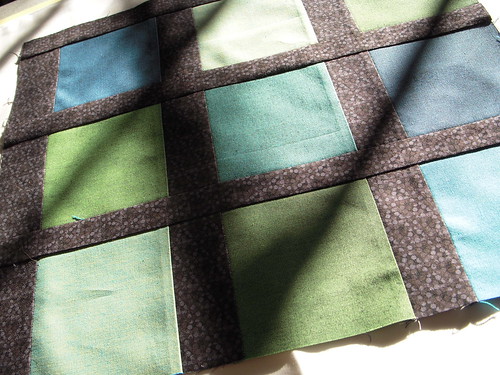
Here are some sneak peek photos of one of the first blocks I've made for the completed quilt.  My layout inspiration for this project comes from Cherri House's quilt City Green.  The pattern is published in Cherri House's new book, City Quilts.

DSCN0725

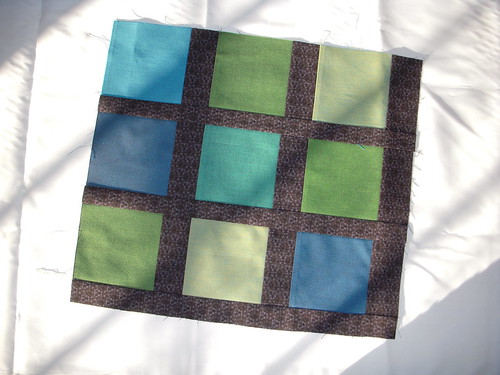
In order to keep track of which squares belong where, I have devised an ingenious labeling system.  Because my layout is 18x18 squares, I decided to sew my patches together into blocks of 9 squares-- how easy!  Each row on the y-axis was labeled with a number 1-18.  The x-axis was a bit more complicated.  I lettered the patches in threes-- the first three were "A," the next "B," and so on.  This way, when I stacked my squares, I knew that row A1 was to be the first three blocks on the first row of the quilt.  Row B1 would be the next three blocks in the first row.  A2 and B2 would be the three blocks directly below A1 and B1.  To get my first block, I would have to sew A1-3 together-- 9 patches in all.  Make sense?

DSCN0726

Anyway, it's coming together nicely, and I better get off blogger and onto the machine.  I have to drop everything off for the quilter to pick it up Oct 8-- that's Friday, in case you were wondering.  Quilt top sweat shop here I come!

Sunday, June 6, 2010

Reasons to EQ - #1

I finished my Modify Tradition swap quilt top!  It's very cute, and I knew right away that it deserved a cute quilting motif.  But what motif?  Diagonal lines didn't seem quite right and neither did stitching in the ditch (Which ditch?  There's a million!).

DSCN0584

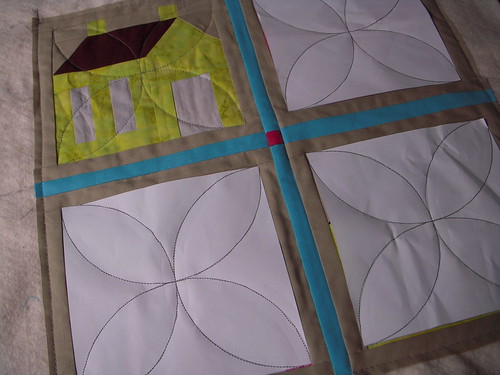
Luckily I've got Electric Quilt 7.  Did you know that you can print quilting stencils with this program?  It's so easy!  All you have to do is search through the stencils (they're in the blocks library) and add your choice to your project sketchbook.  Then, drop it into the appropriate layer of your quilt.  The program will size the stencil as necessary!

DSCN0583

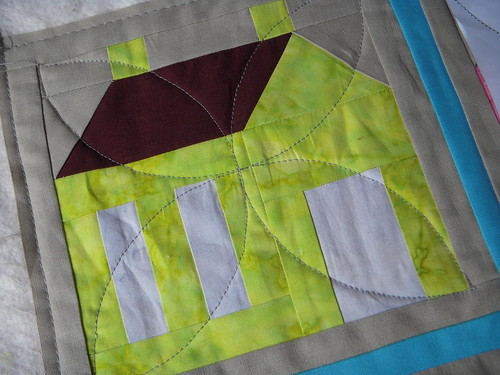
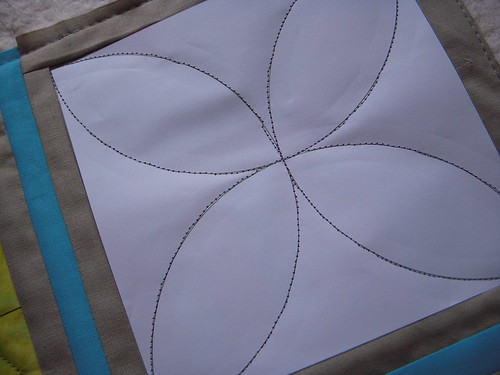
I decided on an orange peel pattern and printed four copies of the stencil.  Just cut them out and use spray adhesive to attach them to the quilt.  Then, stitch along the quilting lines.  Go as fast or as slow as you are comfortable.

DSCN0579

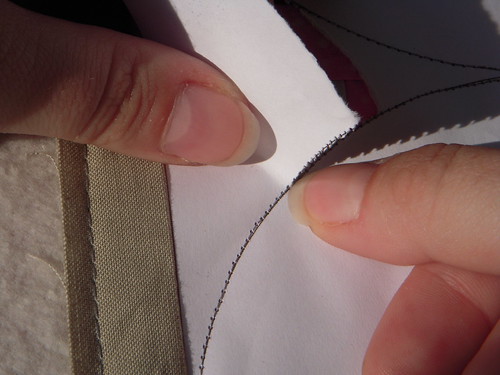
Once you've finished quilting, carefully rip off the paper.  Use your fingernail to hold down the stitches and gently rip away the edge of the paper.  If you pull some stitches up, just tug on either side of the stitch and it should go right back.

DSCN0592

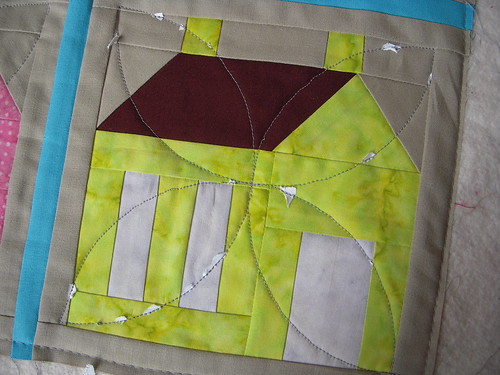
After you peel all the paper away, you may have some tiny specks caught in the seam.  Use tweezers to pull them out.  Voila, you are done, and you have perfect quilting!

DSCN0593

Sunday, March 21, 2010

Hexagons


DSCN0386


A few people have been blogging about paper piecing with hexagons this week. I know I'm not widely read, but I figured I'd chime in with a tip of my own, since I recently finished my full-sized quilt top made of 3" hexagons.


Instead of cutting your paper pieces, purchase them from Paperpieces.com. They use a die-cutter and heavy card stock to cut their paper pieces. You can order all different sizes, all different shapes, and all different amounts.  Their customer service is great and they have super-fast shipping.


The great thing is, you can reuse your shapes since they are cut from such heavy paper. I ordered a package of 300 3" hexagons and spent around $20. This was plenty of hexagons and I still have them for the next quilt!

Tuesday, October 27, 2009

Coats and Clark Thread


I've been piecing with this great Coats and Clark Hand Quilting Thread. It's awesome. The glace' finish is really nice-- the thread glides so smoothly. I like it even better than my waxed thread (and I like that thread a lot)!

Sunday, October 4, 2009

Envelope Tutorial

Ever wanted to know how to make your own envelopes out of 12" paper? Consider the mystery dispelled.


Envelope Tutorial

Tuesday, August 4, 2009

My Lightbox


My Lightbox
Originally uploaded by jenamoured


Don't have a lightbox but need to trace an embroidery pattern?

Use your television (as long as it's not one of those fancy plasma or LCD models). Simply use masking tape to affix your fabric to the printed pattern, like so, then tape the whole shebang over the illuminated television screen.

Voila! You have a lightbox. The light from the television screen will allow you to view the printed pattern through the fabric. Pull up a chair and get to work.

Friday, July 31, 2009

Prewashing

Is the devil.

There, I said it.

I hate prewashing fabric. I hate all the unraveling and the strings that happen (even if you use a lingerie bag). I hate ironing a huge piece of yardage.

I just hate everything about it. I have never prewashed fabric and I have no intentions to start. So far none of my projects have had problems, and hopefully they won't start.

(PS- I must admit that I did soak the red batik backing for this quilt because I was terrified not to.)