Here are the photos of my currently finished blocks, from beginning to end. See my previous post for hand applique tips.
I purchased the pattern and a kit for each block in this project. Additionally, I attended one group meeting (and paid the class fee) dedicated to this block of the month. Each kit was $19.99; I also purchased a finishing kit that includes materials for the appliqued border and patchwork sashing. Let's just say I've sunk several dollars into this project, and so no matter how tedious it becomes, I must finish it!
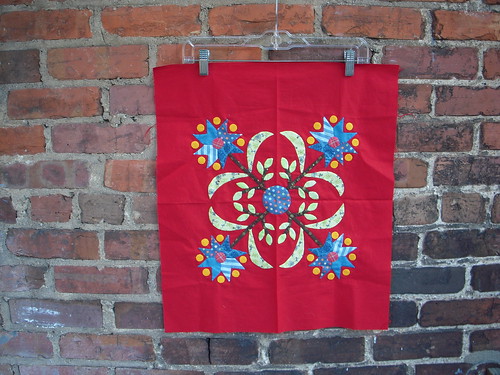
The first block took me about a year to finish. I did use the freezer paper method for this block, which probably took quite a bit of extra time. In retrospect, this method doesn't create any better results than plain ol' turning under.
I've come quite far; when I look at that block, I want to redo it! All those points made me crazy, but of course it gave me quite a bit of practice in making nice points. Additionally, I attached some of the pieces out of order because I wasn't paying attention. I haven't fully decided if I will redo the block, but it is nice to compare this block to the others and to see how far my skills have come.
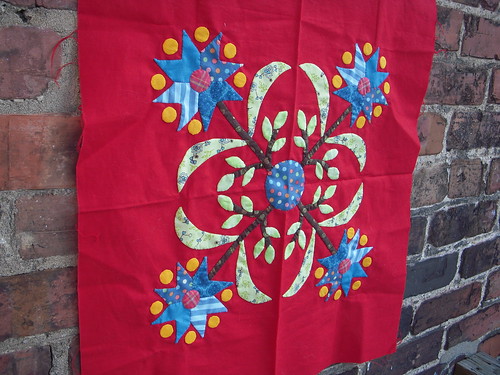
The second block was never photographed and today I only took one; perhaps that is a subconscious way of saying I don't really care for it? I do like the block, but only a little. Perhaps I will like it more after I redo the center medallion (more on that later). Can you see how much nicer this block is than the previous?
I finished this at the prodding of the ladies in my sewing group; they really helped reignite my excitement for this project. It's only because of them that I'm on my current finishing streak! Hopefully they'll keep me excited about it. (Do you like how I'm giving them all the responsibility for making sure this project is finished?)
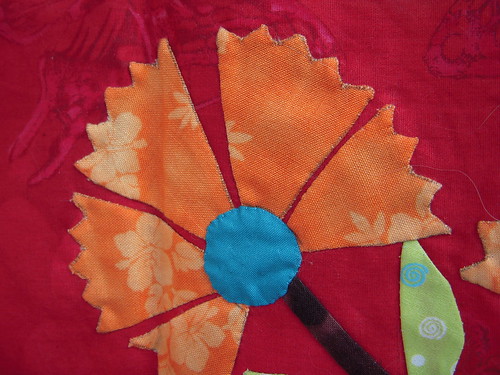
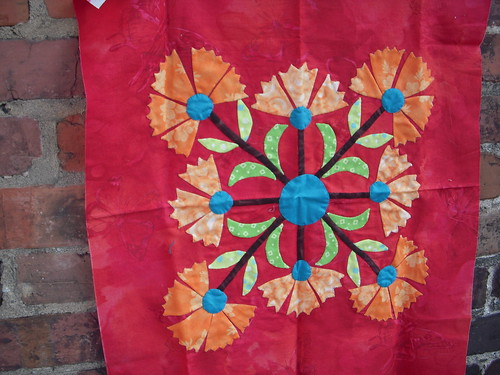
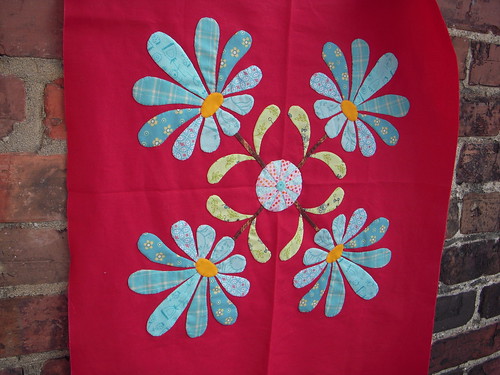
The project sat for quite a bit before I began the third block. This one is probably my favorite so far; I love the little yellow dots all around the flower heads and although I waffled about sewing them on (I was feeling burnt out), I'm glad I did.
I deviated from the original pattern to make things just a bit simpler for myself. Each flower head is supposed to be composed of eight petals; instead, I joined the petals together to create four, preserving the shape but removing the complication of perfectly lining up eight pieces. The overall design doesn't suffer-- it's still plenty cute!
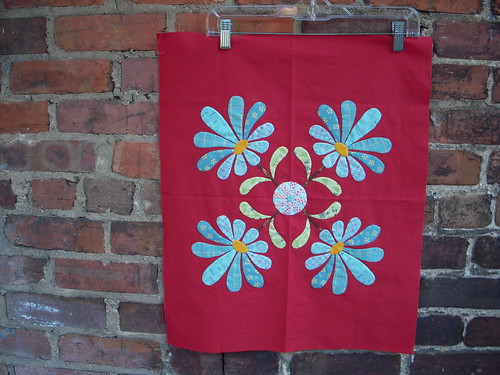
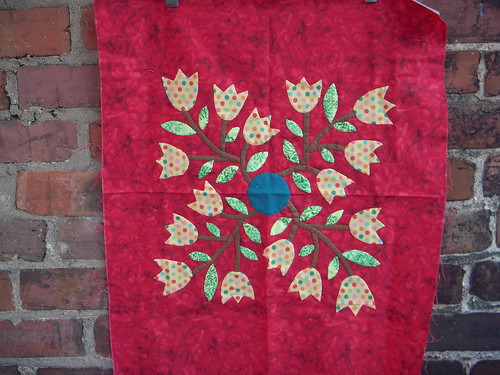
The fourth block was completed in only about a week's time. I did some of the sewing on my honeymoon-- in the airport on the way home, duh-- but finished it over the past weekend. The petals here are absolutely beautiful and they were fairly simple to applique because they are large and have gentle curves. I did have some difficulty when appliqueing the centers to the flowers-- I wasn't able to easily cover all raw edges-- but some pushing, stuffing, and stretching solved all that.
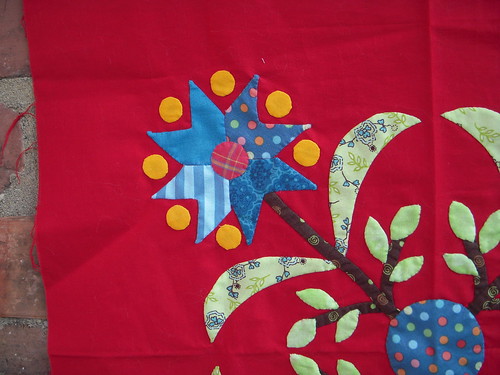
This block has the beautiful appliqued center medallion, unlike the others. Although the striped center medallion looks cute, it was not easy nor simple to make. (More on that later.) Despite its time-consuming difficulty, I will definitely be doing the other blocks to match. Perhaps not right away, but over the course of this project.
When comparing the first block to the most recent, the difference in skill level is obvious. My hands may turn arthritic and gnarled, but I will be an applique expert when I finish this project (someday). Overall, I am enjoying the applique experience. Perhaps later I won't say the same thing, but for today I am quite satisfied. I can't wait to finished the next block-- another simple one with large pieces and curves-- and see the fruit of my newfound skills.
No comments:
Post a Comment