Recently, my school hosted our annual holiday celebration and silent auction. In the past, I've offered whatever fun teacher-activity the PTA asked me to do. This year, I suggested my own donation: a sewing lesson/workshop. The winner had two project choices: drawstring backpack or the Keyka Lou Camera Case Wristlet.
The auction was won by the super-sweet Abigail, daughter of an awesome colleague. She chose to work on a drawstring backpack and insisted that the bag include a zippered pocket-- cue Noodle Head's drawstring backpack tutorial (thanks, Amy!).
This tutorial is great! I'm not a bag-sewer and three-dimensional objects are often out of my league. I had to read through it a couple of times to get comfortable with the process, but once I started working it was smooth sailing. Although it took me a minute to get comfortable sewing in 3D, this tutorial is simple and straightforward, and easy enough to make with a beginning sewer. And the bag is cute! And lined! And has a fully finished zipper pocket! To me, this is all very impressive; it doesn't seem like any of that should be easy, but it was.
After I made my practice bag, I invited Abigail over for an afternoon of sewing. She loves purple, so I pulled a gorgeous purple Alexander Henry print from my stash. Instead of using cording for the drawstrings, I purchased some pre-made double-fold bias tape in a coordinating color. Before she arrived I cut the fabric pieces needed for construction and prepared the zippered pocket portion (for the sake of simplicity). I also marked seam lines along each piece for Abigail to follow as she sewed.
Abigail was very excited to sew and got the hang of operating the machine right away. We sewed several lines on scraps to practice guiding the fabric without pushing or pulling, and then began construction on the bag itself. She did a fabulous job! Clearly, this chick is a natural. Her bag turned out pretty much perfect, despite some mistakes made by (and fixed by!) yours truly.

I've got to say: I'm extremely proud of this bag. Not only was I able to successfully create a bag, but I was able to successfully help an 8-year old do it! I feel extremely accomplished and I know Abigail does, too. She even asked if we could sew together again!
Looks awesome and she seems super excited! Great job Jennifer. And I agree our sewing group is better than an iron. :)
ReplyDeleteI'm so happy it turned out great. You are such a wonderful person, so giving. And yes, I agree with the sewing group too...much better than an iron.
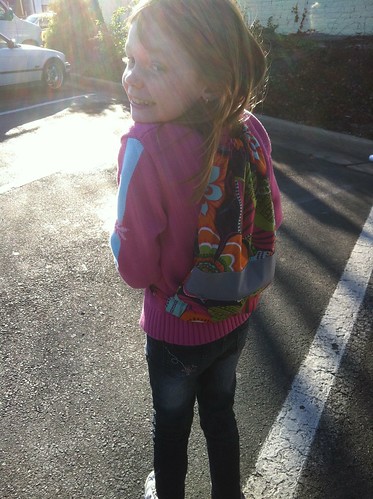
ReplyDeleteWell done, you! And Abigail! The backpack looks great on her, too! You've probably turned her into a sewing fiend now.
ReplyDelete